Set the brush tool to the lighten overlay mode, and to clean up dark specks, set the Blur Tool to lighten. Rework the shadows and highlights again to catch flaws missed the first time. When you are finished the photo should look something like this.
Step 6 – Correct the Uneven Background
To not destroy detail in the current painted backdrop, we will work on a new layer to correct the background.
Create a new layer and name it “background corrections”.
Use a relatively large brush of about 400 px to 500 px, with the blending mode set to normal, and a 50% to 80% opacity, begin to even out the background tones.
If you make a mistake, just use the eraser tool with the same settings to correct. Take your time and rework until you are satisfied with the results. Your results may look something like this.
Step 7 – Focus on Jenny Lind’s Face
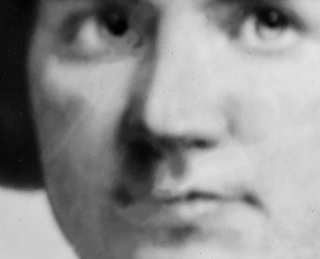
Zoom in and make the final corrections on Jenny’s face with a 25 px brush, blending mode normal, opacity 70%. Here are the areas of concern, smooth these out to the best of your ability.
Since Jenny Lind was a famous performer, there will be an abundance of reference photos to assist in filling in some of the detail. In this case we are lucky to have another photo of Jenny available from the Library of Congress. This photo is almost identical in pose, expression, and lighting; so we will paste a copy of Jenny’s
face from the reference photo onto the restoration.
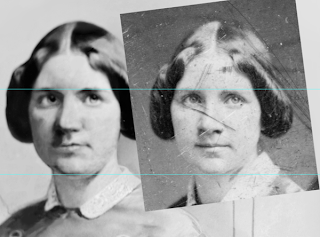
Align the photo directly over the face. You will need to scale the picture up and rotate a little to get the correct alignment.
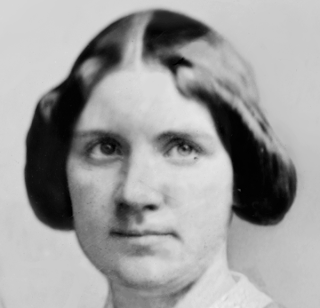
Using the layers mask tool delete most of the reference photo except for the eyes, nose, and mouth. Here is how that might appear.
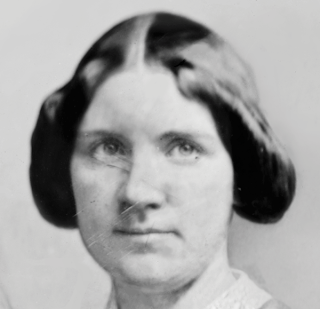
Now I will merge this layer down to the restoration layer, and finish the final details. Here’s the result.
Step 8 – Add Noise
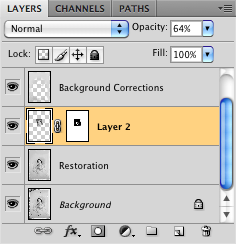
Merge the background corrections layer and the levels adjustment layer with the restoration now. Then Right-Click on your restoration layer and select “Duplicate Layer…”.
Select “Filter > Texture > Grain” and apply these settings. You can rename this layer “Grain” if you like.
Play with the opacity and blend modes on this until you get a nice grain texture throughout the photo. This step masks the smoothness of the restoration and blends it seamlessly into the original photo.
Step 9 – Save a Copy
Save a copy for output to a printer of your choice.
Conclusion
You’re finished! Bask in the warm glow of the praise you will receive for your new found photo restoration skills!
Shaan Graphics is a premier Image Editing service provider, providing this exclusive Retouching and enhancement service with Internationally lowest price guaranteed. Shaan Graphics Image editing service starts from $0.50 only.


No comments:
Post a Comment