You will be creating Mask of Transparent Elements in Photoshop and the final result will look like the following:

Step One
One of the major advantages of having access to the separate channels in Photoshop is the ability to make selections. You can use individual channels to make different selections in the image. When you want to select a specific item in the image, use the color channels that provide the greatest contrast around the edges of that item. So let’s start the initial planning phase.

Step Two
This is the original image. Though this is a CMYK image, same process will work in case of an RGB image. Only difference will be in the Channels panel. Instead of four color channels and one composite channel, there will be three color channels and one composite channel in the RGB image. The objective of this tutorial is to remove the black portion but to keep the glass, water, bubbles and the reflection below the glass. So we can use it on any other background (Solid color or photo). For this tutorial we will use Apply Image command (Image > Apply Image).

Step Three
The Apply Image command lets you blend one image’s layer and channel with a layer and channel of the active image. But remember the pixel dimensions of the images must match for image names to appear in the Apply Image dialog box. But here we are not using two images. We are blending the black channel copy with the black channel copy itself. But the power of the Apply Image is hiding within the Target section. Here you can specify a blend mode or blending type which you want to use during the Apply Image blend.

Step Four
Open the file in Photoshop. Then in the Channels panel examine the channels for a channel with good contrast. Finding a channel with good contrast is essential for good selection.

Step Five
Here the black channel is showing good contrast between the glass and the background.

Step Six
Duplicate the black channel by dragging it over the ‘create new channel’ icon below the Channels Panel. You can also right click on the black channel and select duplicate channel.

Step Seven
Then select the black channel copy and Image > Apply Image.

Step Eight
First blend one time with Multiply mode to increase black and in this process convert from the background any area to black which is gray. But reduce the opacity (within the Target section) amount to 50% to create a blend which is not too strong. Otherwise we might remove some white areas, as they are not pure white.

Step Nine
The Multiply blend mode looks at the color information in each channel and multiplies the base color by the blend color. The resultant color is always a darker color. Multiplying any color with black produces black. By using the Multiply blend mode we are removing any grey portion from the background.

Step Ten
Then blend two times with Overlay blend to increase white. Now we can easily select the white area. Our goal here is to create an effective, fast and acceptable mask with this process. This time use 100% Opacity in the blending area.

Step Eleven
The Overlay blend mode multiplies or screens the colors, depending on the base color. The base color is not replaced, but mixed with the blend color to reflect the lightness or darkness of the original color. White areas become brighter and black areas become darker. By using the Overlay blend mode we are increasing the strength of the white portion as we want to keep the white portion but mask out the black portion in the final image.

Step Twelve
You can still tweak the black channel copy by using a brush and paint with white or black color. Paint with white to keep image areas and paint with black to remove or mask out portion. White denotes opaqueness and black denotes transparency within a channel.

Step Thirteen
Load the black channel copy as a selection by either Command/Ctrl-click on the channel or click the first button below the channels panel, which is load channel as a selection.

Step Fourteen
Then go to the Layers panel and duplicate the background layer by dragging it over the create new layer button below the layers panel. You can also right click on the background layer and select Duplicate Layer.

Step Fifteen
Then target the new layer (Background copy) by left clicking on it once. Selection still active, click on mask icon below the Layers panel to create a mask.

Step Sixteen
Now create a new blank layer below and fill it with either red or blue. Now check the quality of the mask. You will find that within the mask there are few grey areas.

Step Seventeen
There are two processes to remove this unwanted grey area. Although first process described below will give you the best output, but still let’s explore both of them.

Step Eighteen
Process 1: Change the blend mode of background copy layer to Lighten in order to remove grey area.

Step Nineteen
Lighten blend mode looks at the color information in each channel and pixels darker than the blend colors are replaced, and pixels lighter than the blend color do not change. As a result dark grey pixels removed.
Step Twenty
Process 2: Command/Ctrl-click on the background copy mask thumbnail to load the mask as a selection. You can also load the selection from the black channel copy.

Step Twenty one
Then click on the Adjustment layer icon below the Layers panel.

Step Twenty two
This will create a new Levels Adjustment layer.

Step Twenty three
Then in the levels dialogue box first drag the midtone input slider (middle one) and then the highlight input slider (right one) towards left to remove grey area or rather converts grey into white.

Step Twenty Four
After applying Lighten blend mode, if you check closely you will find that there are a few broken portions within the white area. You can use the Clone Stamp Tool to fix these areas.

Step Twenty Five
That’s it. You can use the same technique to select complex objects with variable level of transparency. Below is the before and after version.

Step Twenty six
This is the final version.

Tutorial Made by Shaan Graphics.
Shaan Graphics is a premier Image Editing service provider, providing this exclusive Transparent masking service with Internationally lowest price guaranteed. Shaan Graphics Image editing service starts from $0.50 only.
Visit www.shaangraphics.com for more details


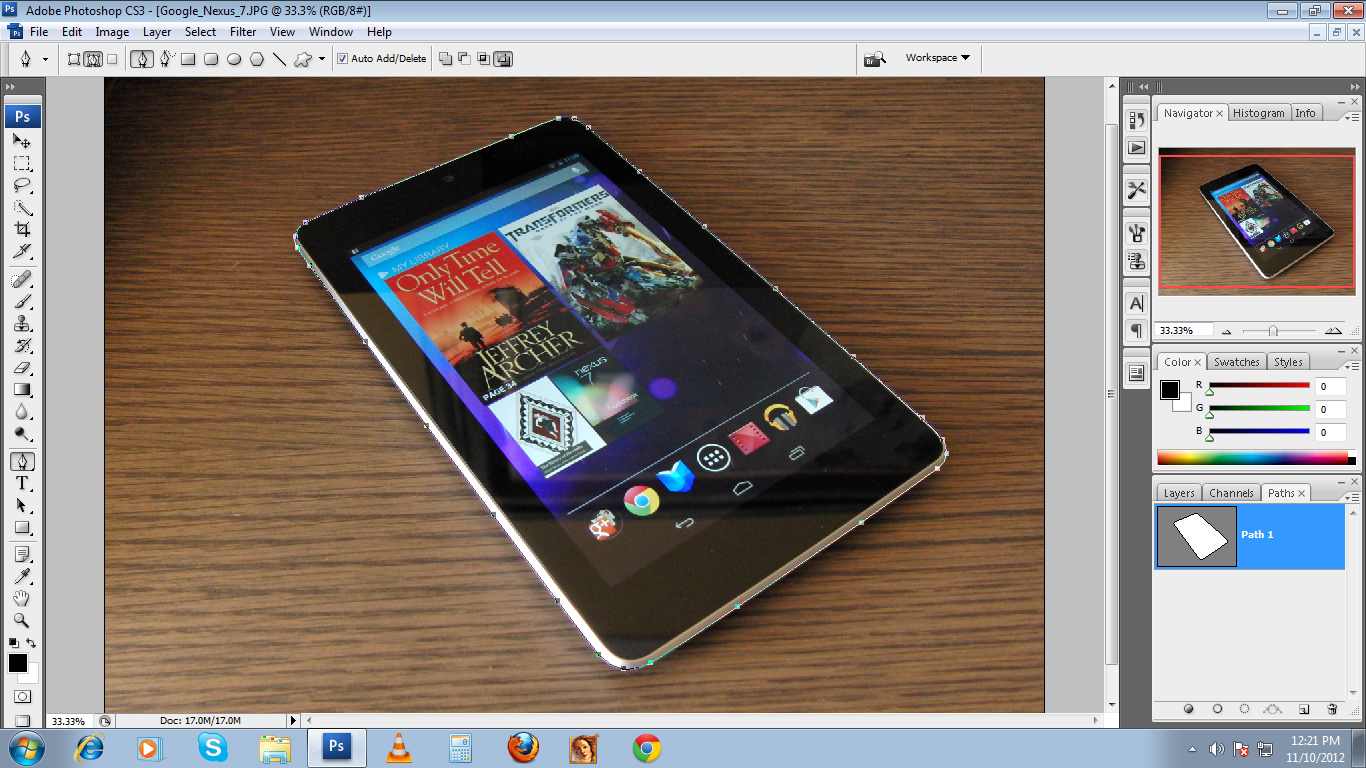


 Prepared to begin path
 while midway through creating or editing a path
 When mouse is pressed
 Add an anchor point to path
 Remove anchor point from path
 When hovered over begin point of path; to close path
 When hovered over endpoint of existing path; to continue path, or (if path is active) to edit that point
 Prepared to convert existing anchor point
 Freehand Pen Tool
 Magnetic Freehand Pen Tool
 Direct Selection Tool; Pen Tool with Command pressed
 Path Selection Tool; Pen Tool with Command + Alt pressed
 When hovered over canvas with Ctrl pressed; prepared for options menu


